How does time fly by so fast?!!!! I was looking forward to some “relaxing” time after the hustle and bustle of Tim Holtz’s 12 Tags…. but I can’t believe that the relaxing time is coming to a close and another year is behind us.
But, I did enjoy the time that I did get to spend with friends and family! 🙂
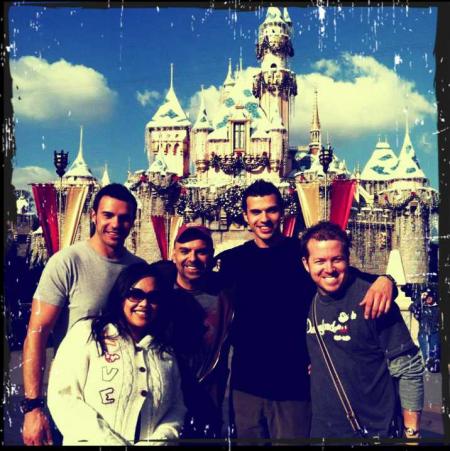
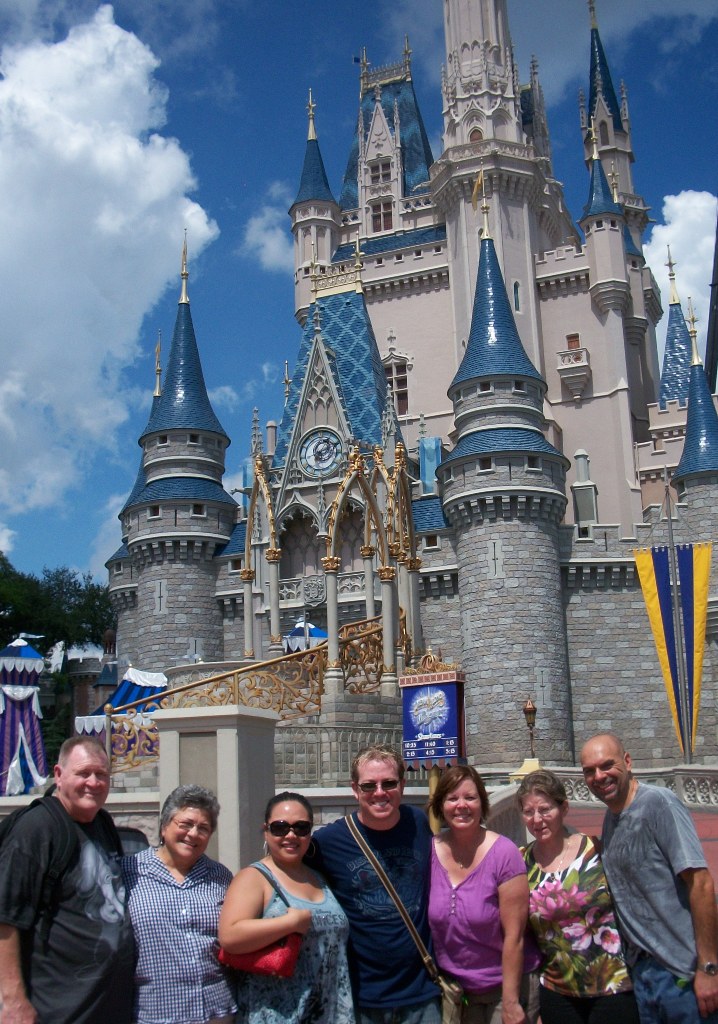
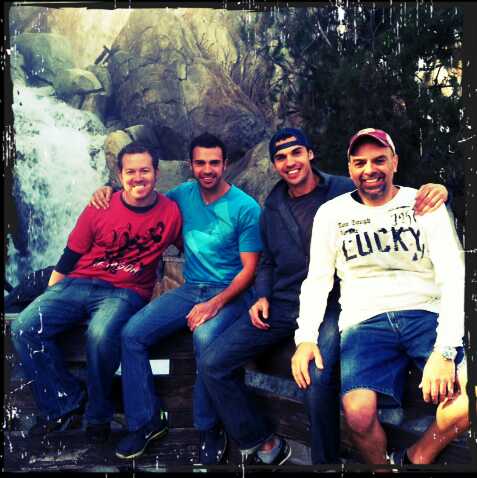
A couple of weeks ago, tim, MJ, Joe, and Mario III came out to spend a few days at Disney.
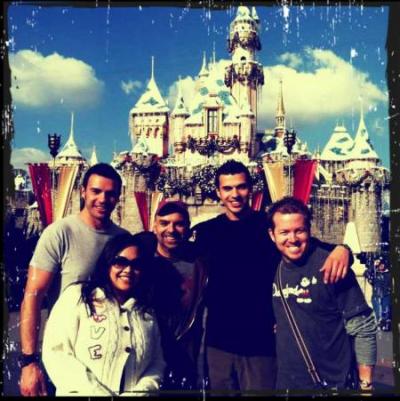
It was nice to spend time with MJ’s family…. (who wouldn’t want to spend time with these handsome men?)

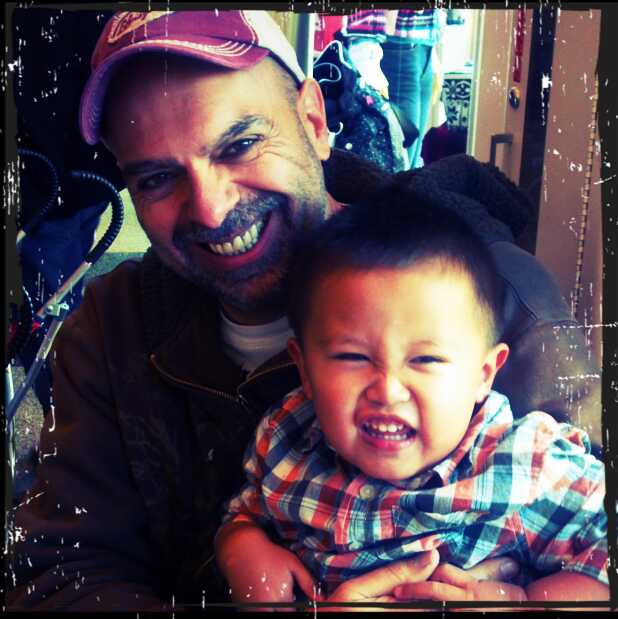
But, I always love it when the boyz can spend time with my family, too! (Here is MJ with my nephew Brandon. Aren’t they just so cute?)

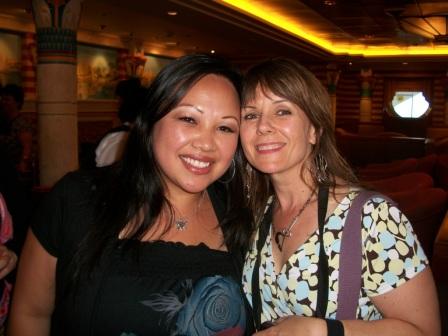
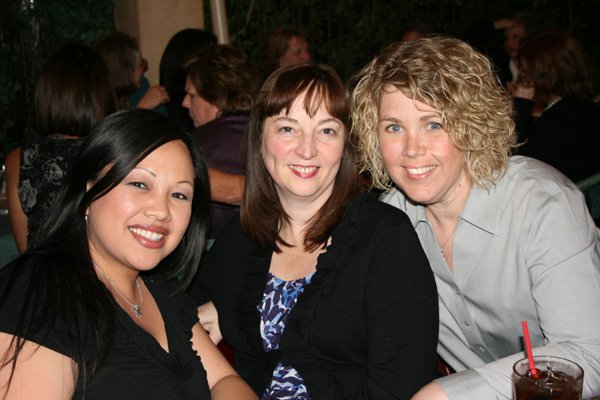
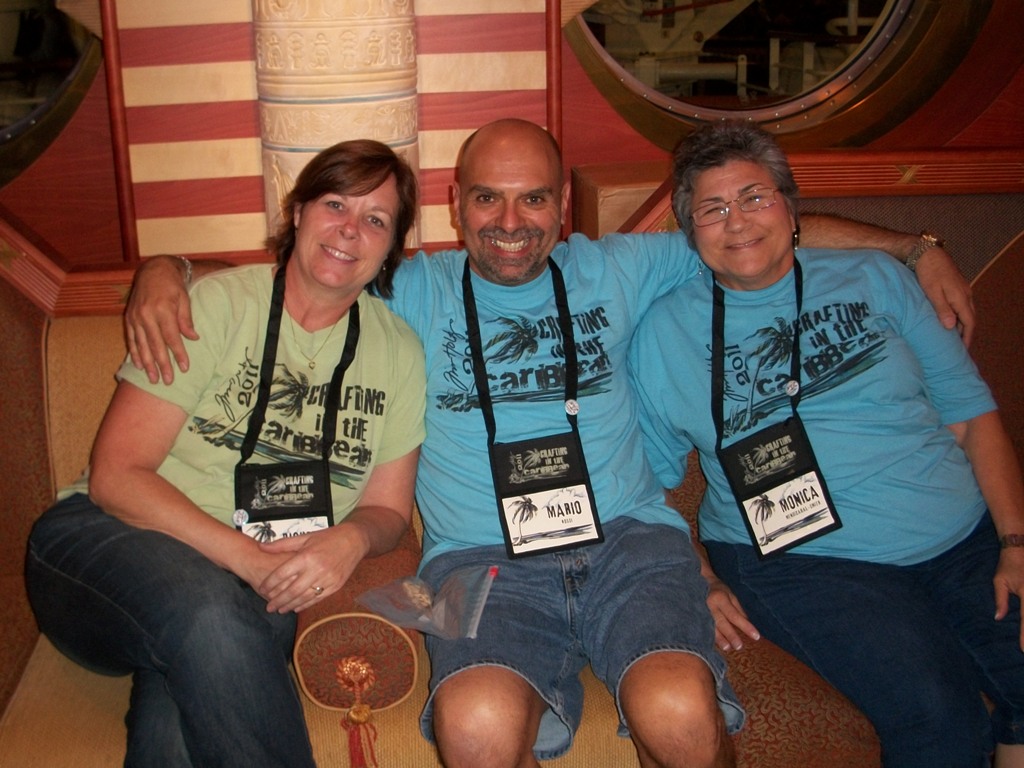
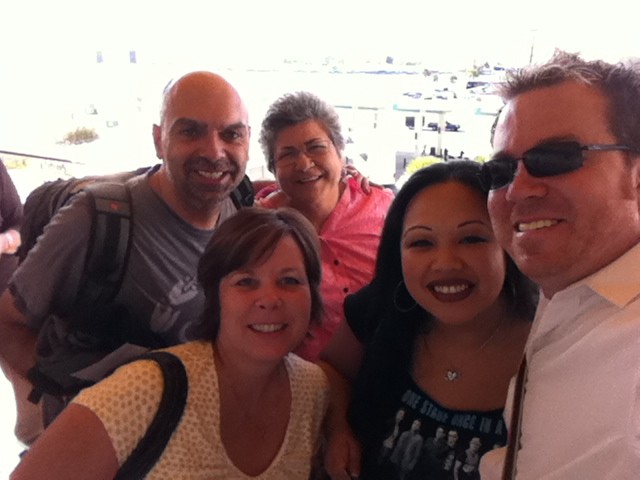
After their short visit to The Park, we all hopped on a plane where we met up with our dear friend Monica and headed off to our Winter Wonderland….
Monica and I had hoped for snow… we did get a little bit, but not like we had hoped. But, it was still absolutely beautiful there!
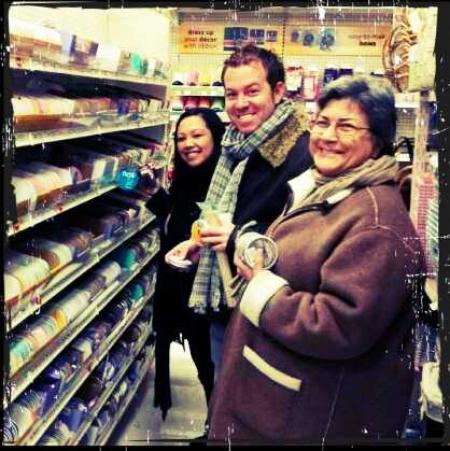
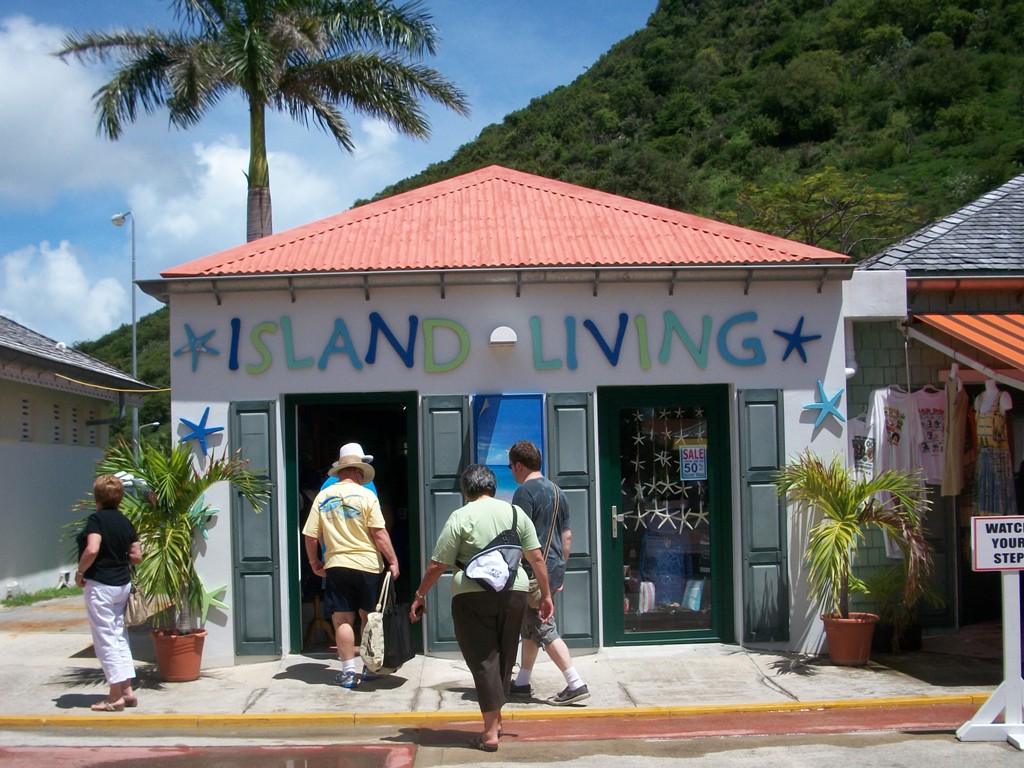
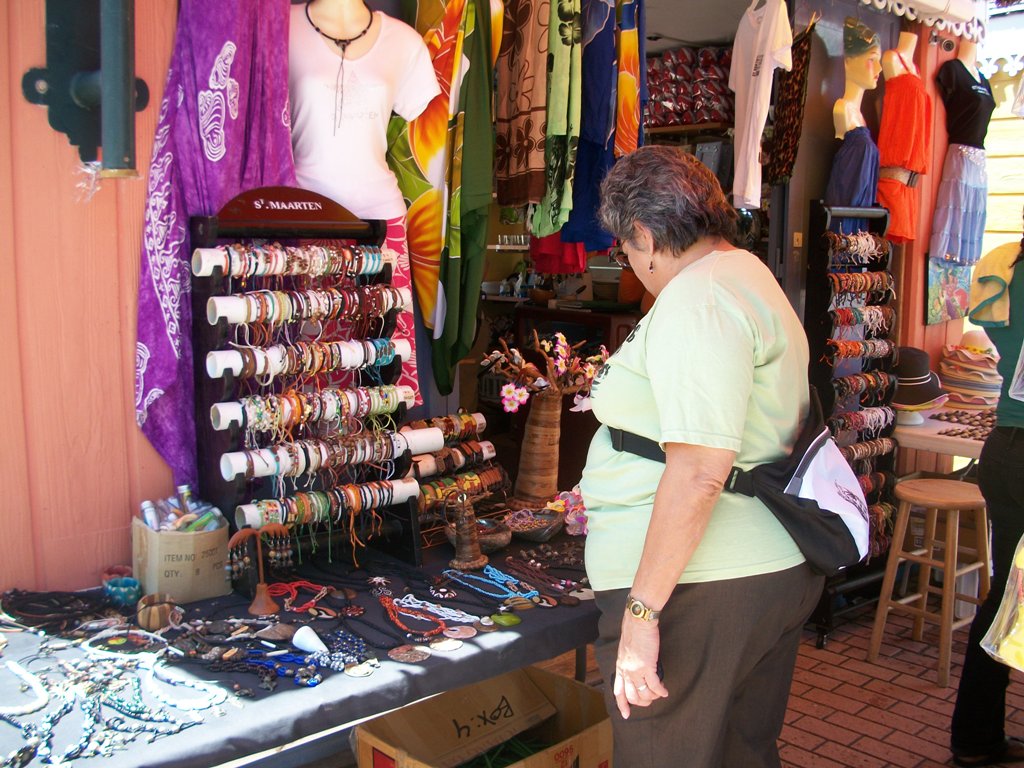
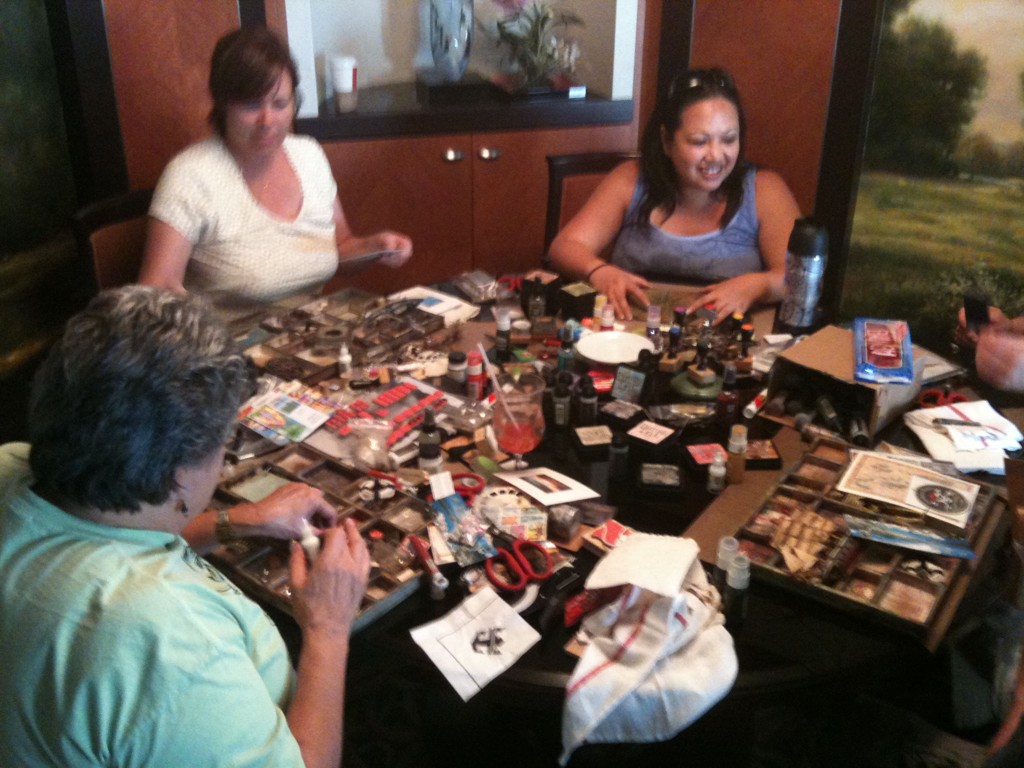
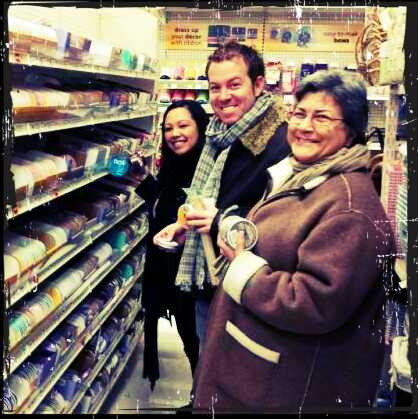
We shopped….

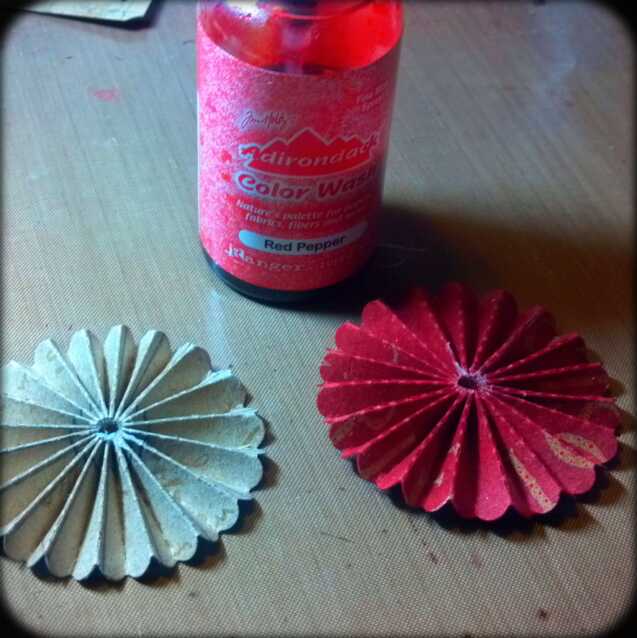
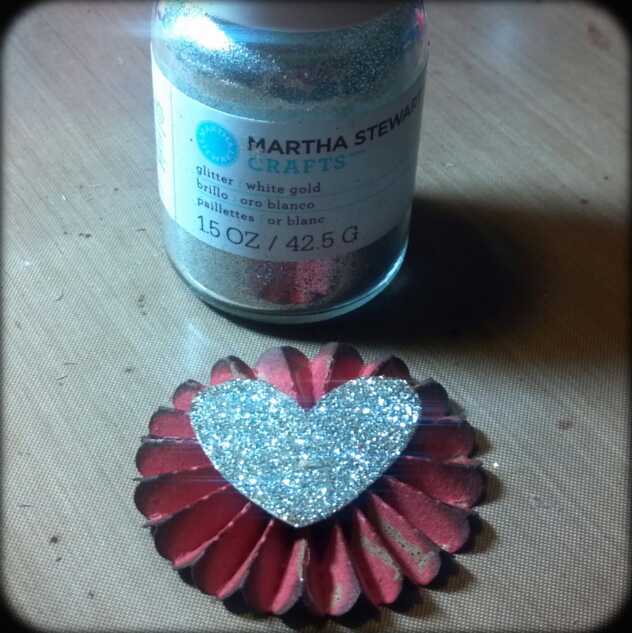
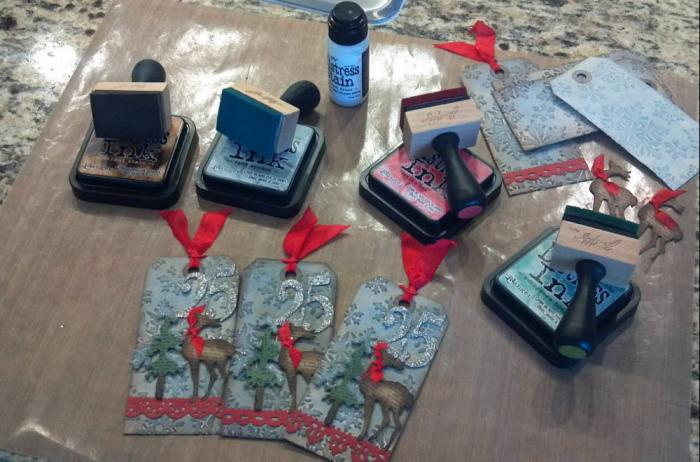
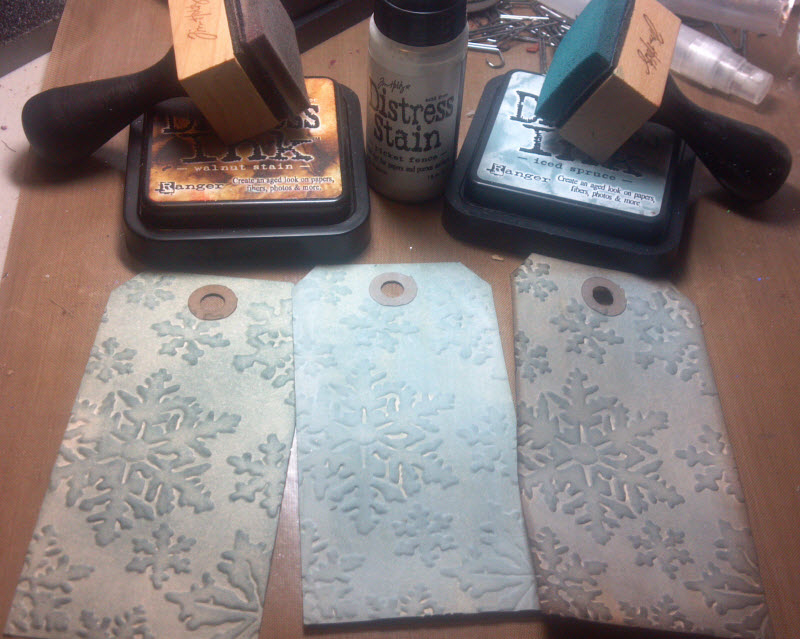
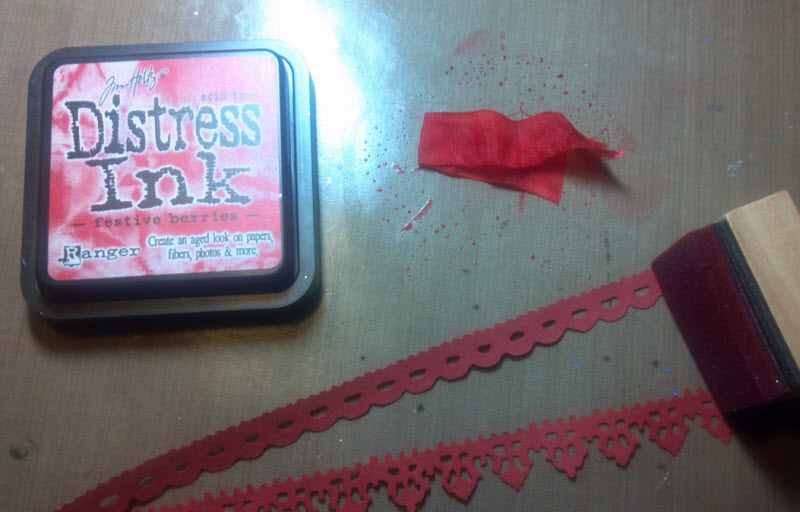
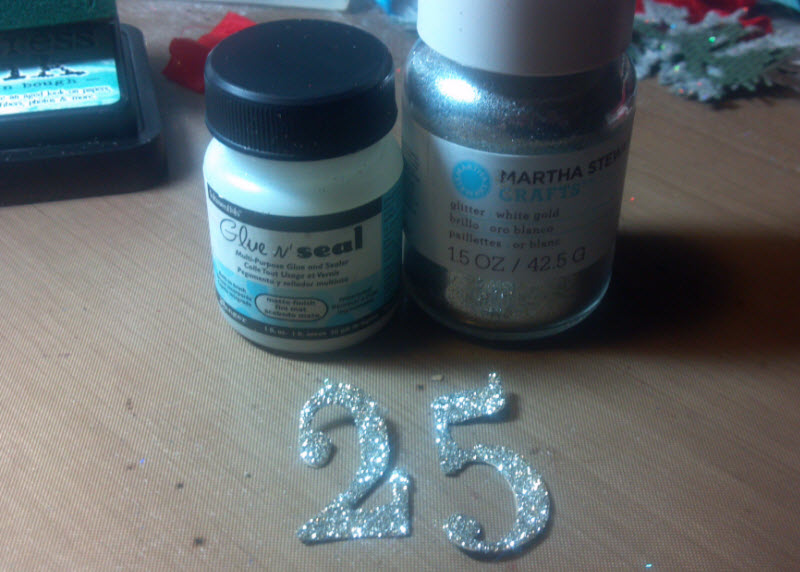
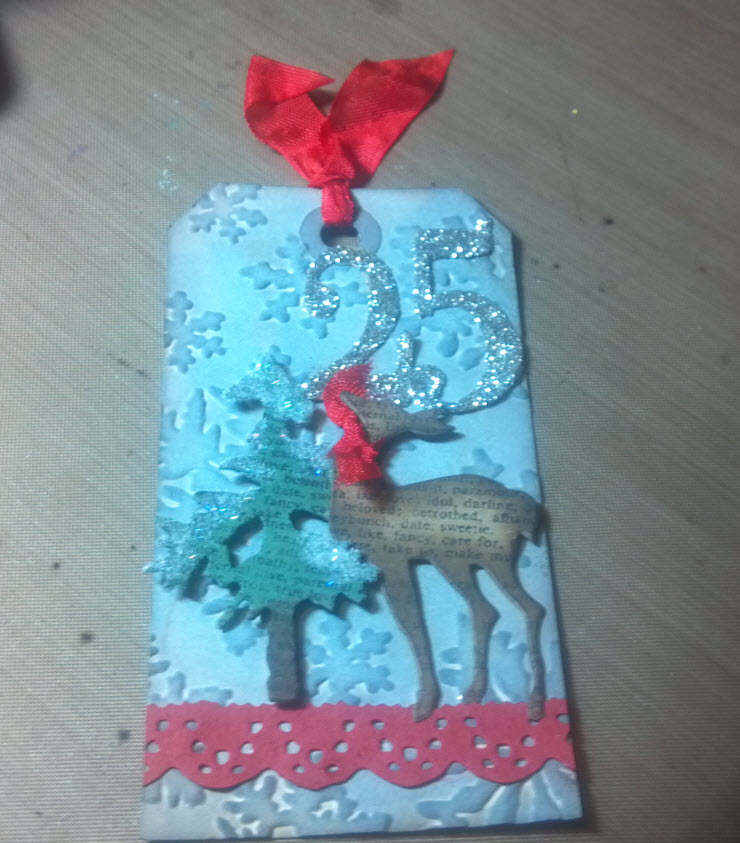
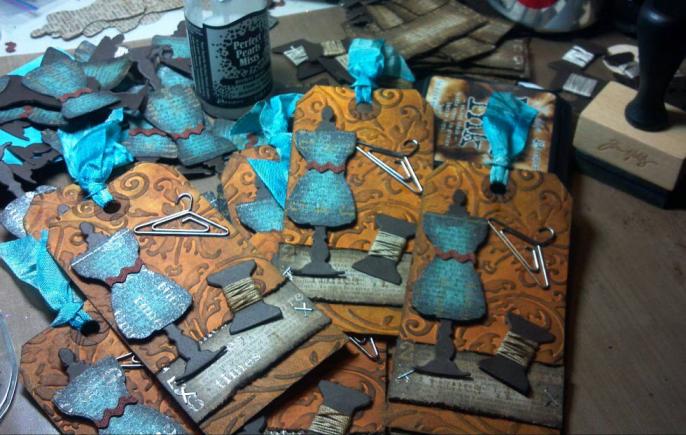
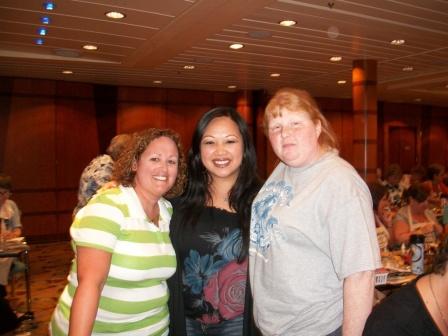
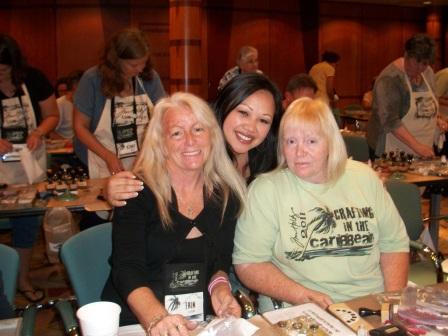
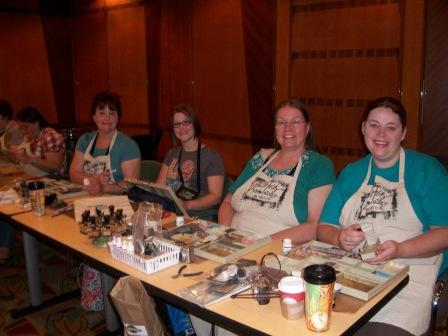
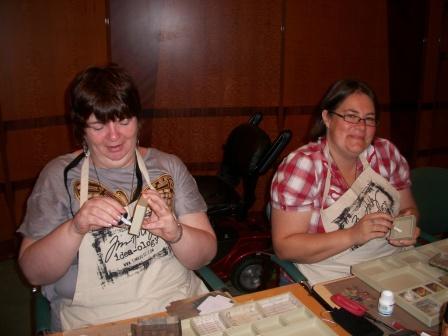
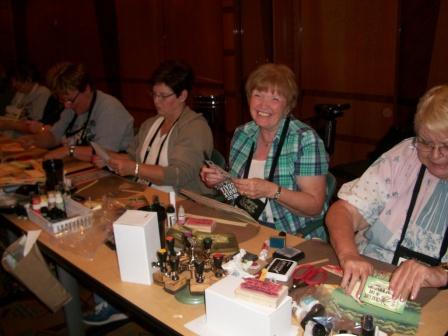
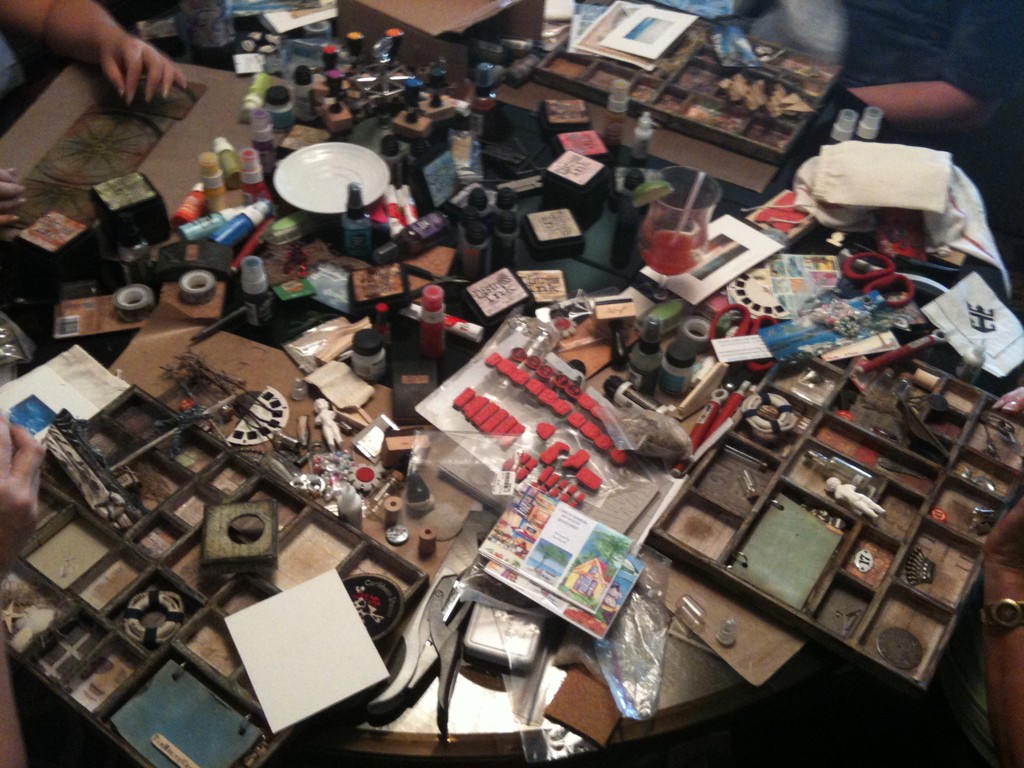
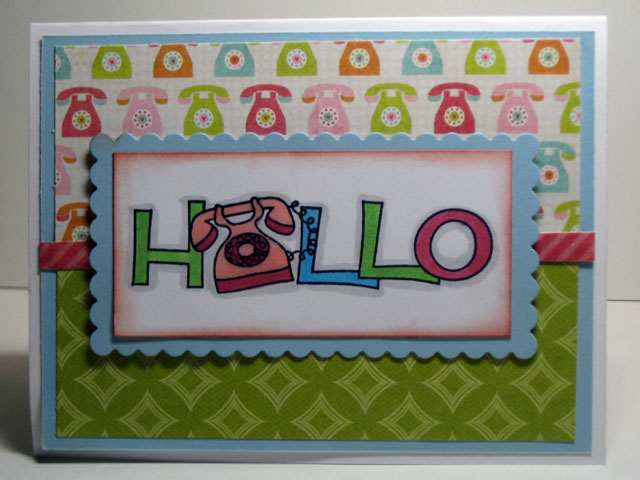
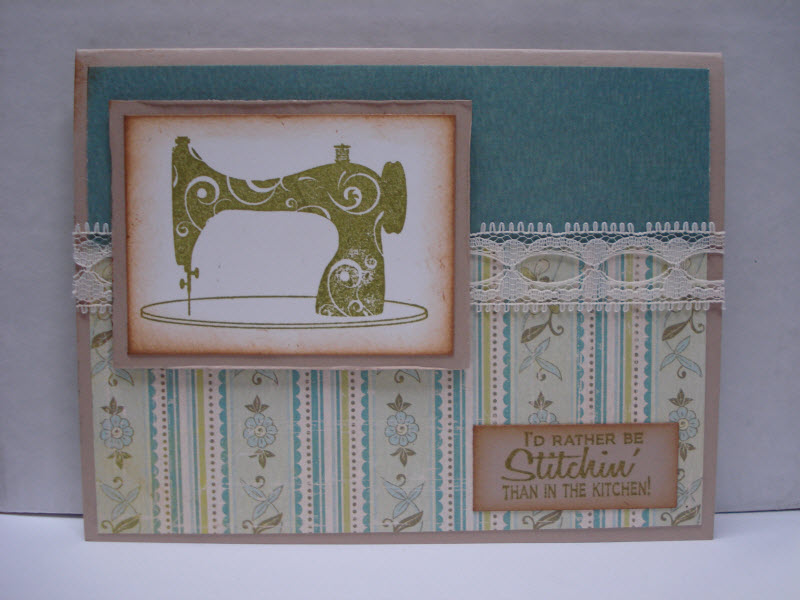
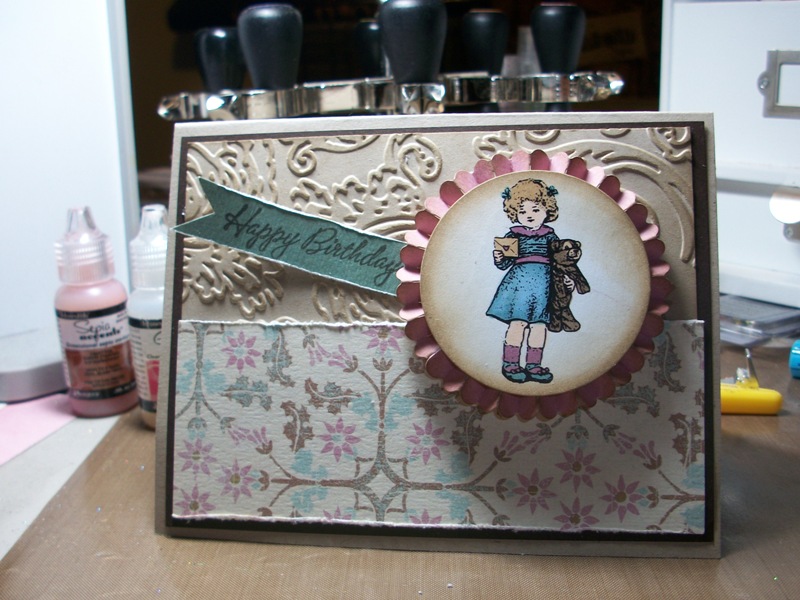
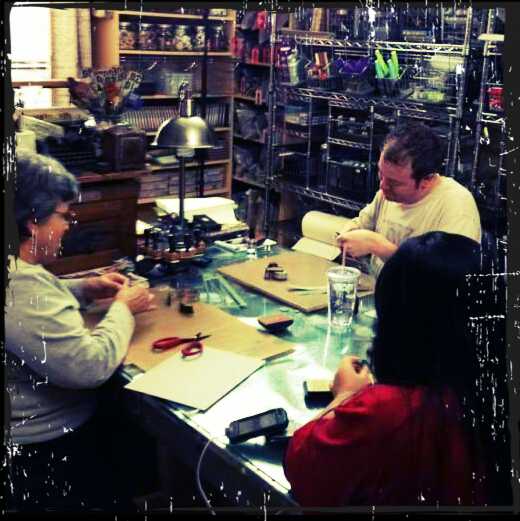
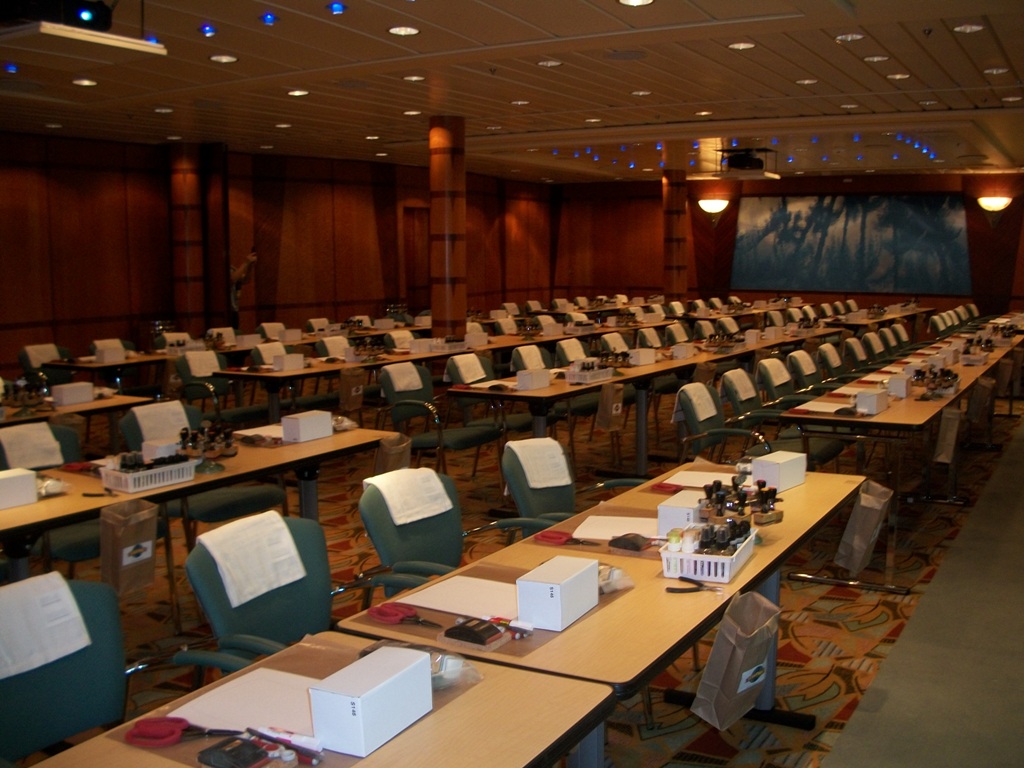
We crafted…..

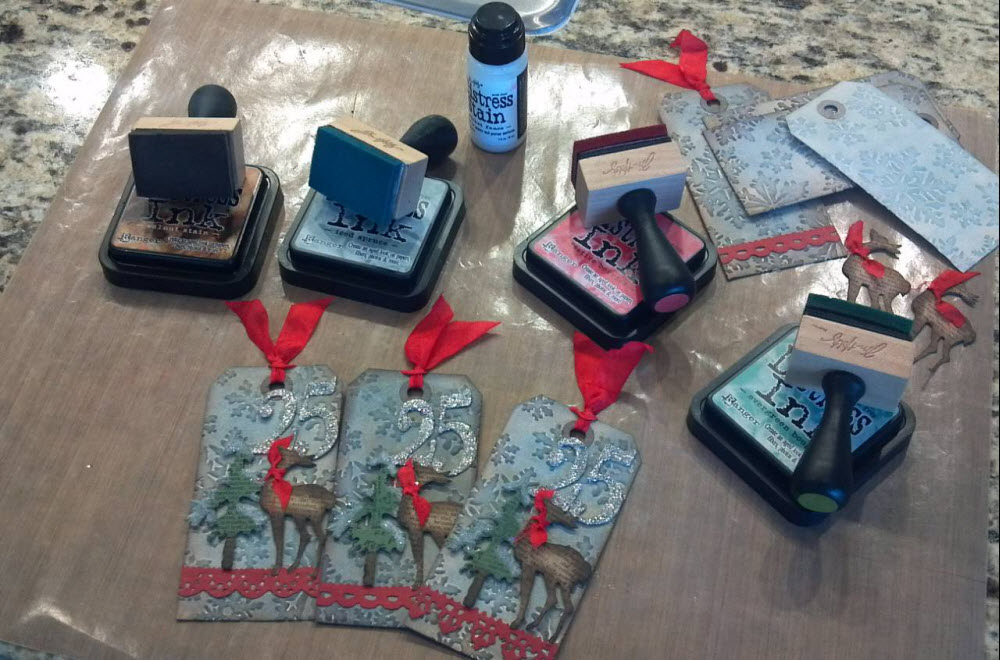
We bleached trees…. dyed them, glittered them (glittered the whole studio thanks to my Auntie Tink)

It was so good to eat, LAUGH, drink, LAUGH, relax, LAUGH…. good times…..
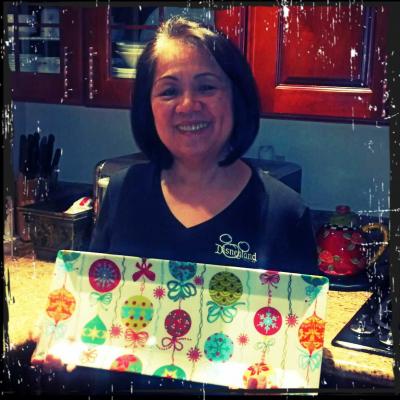
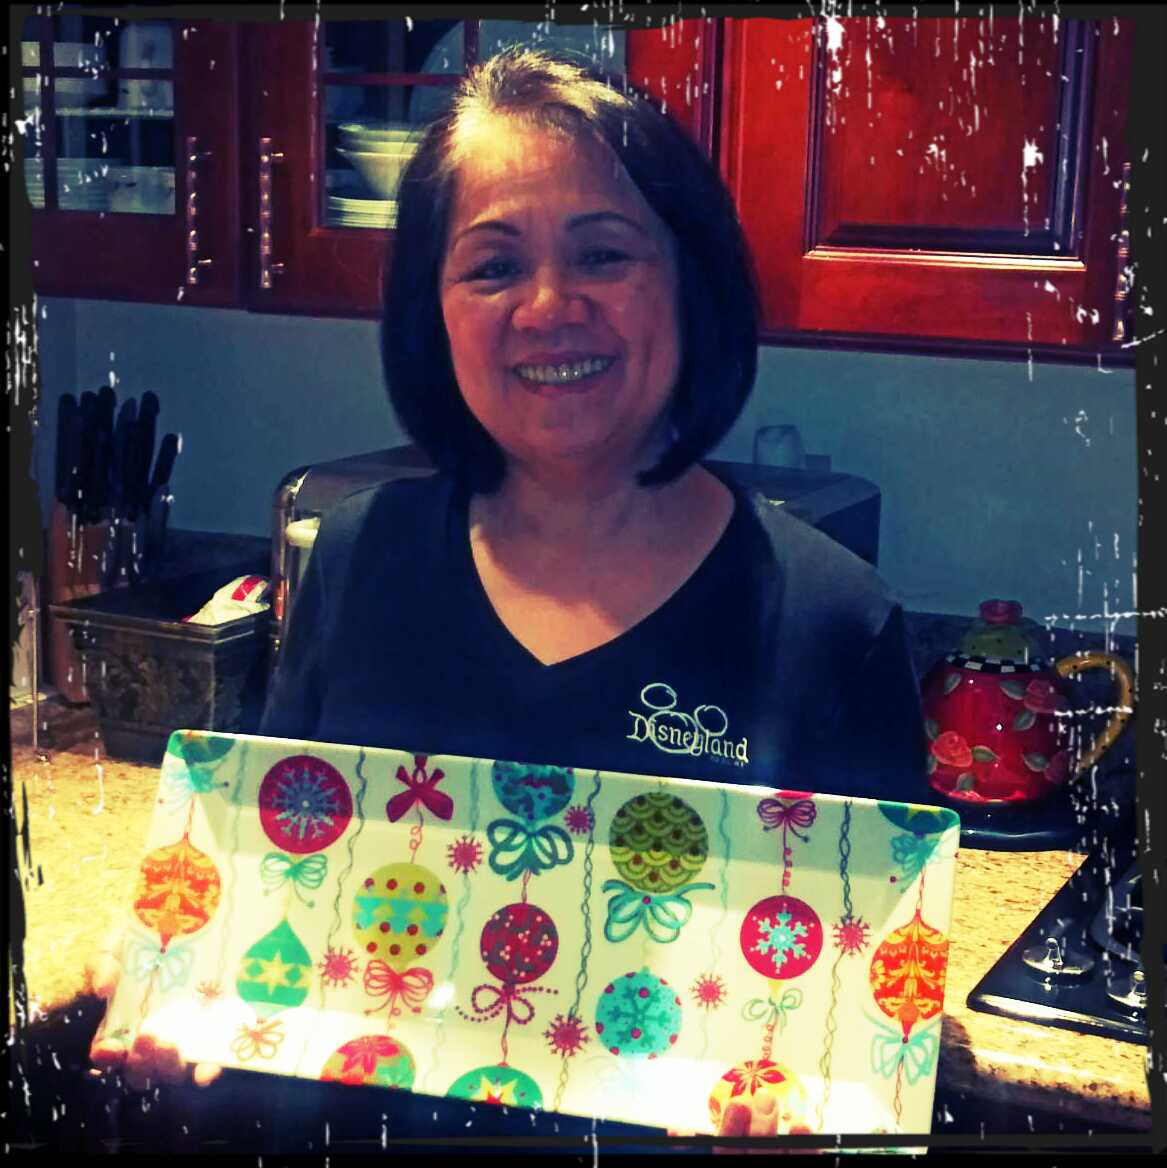
After heading home, it wasn’t much time until we had to get ready for our annual M.A.D. Christmas party at the house…. mama started getting ready for it right away…. (with her new platter from dear friends)
I didn’t take many pix that night because I was just enjoying everyone’s company…..
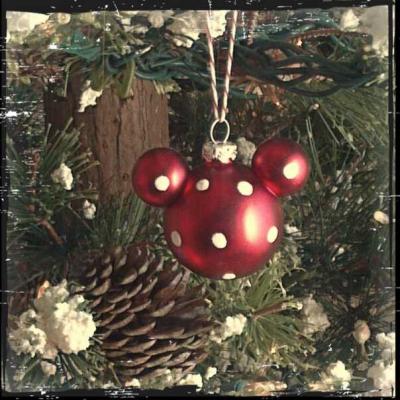
Oh Christmas Day…..
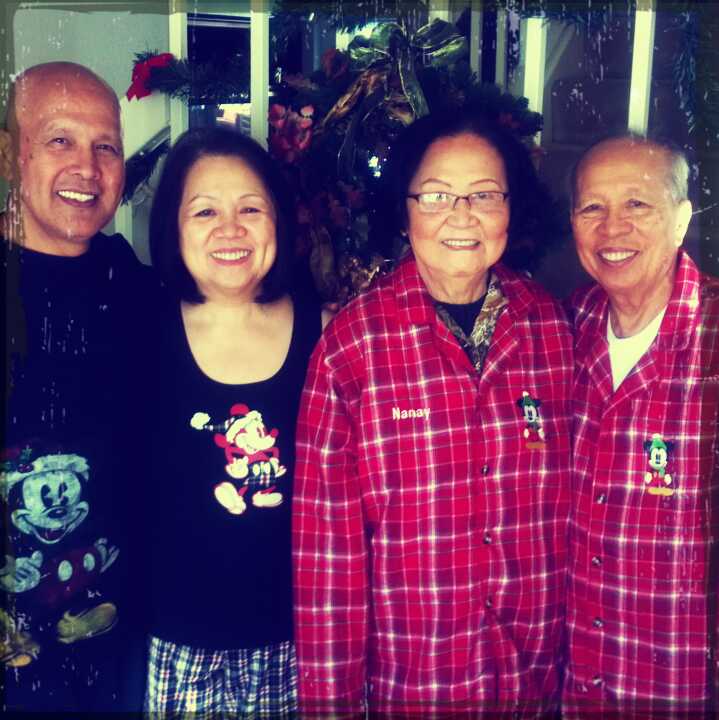
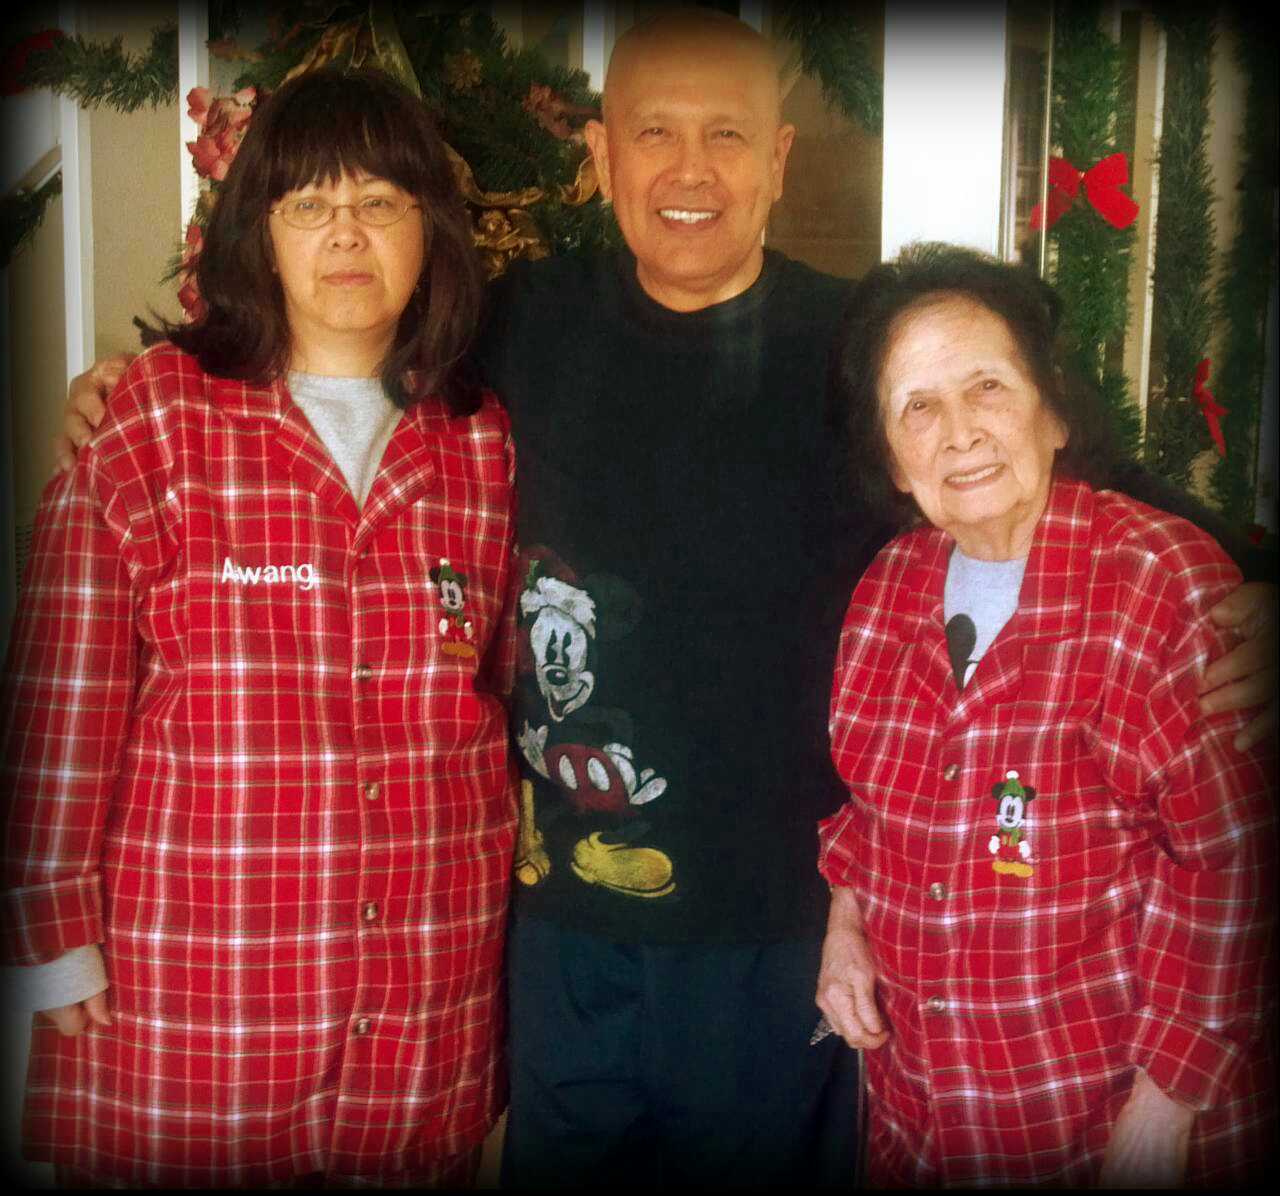
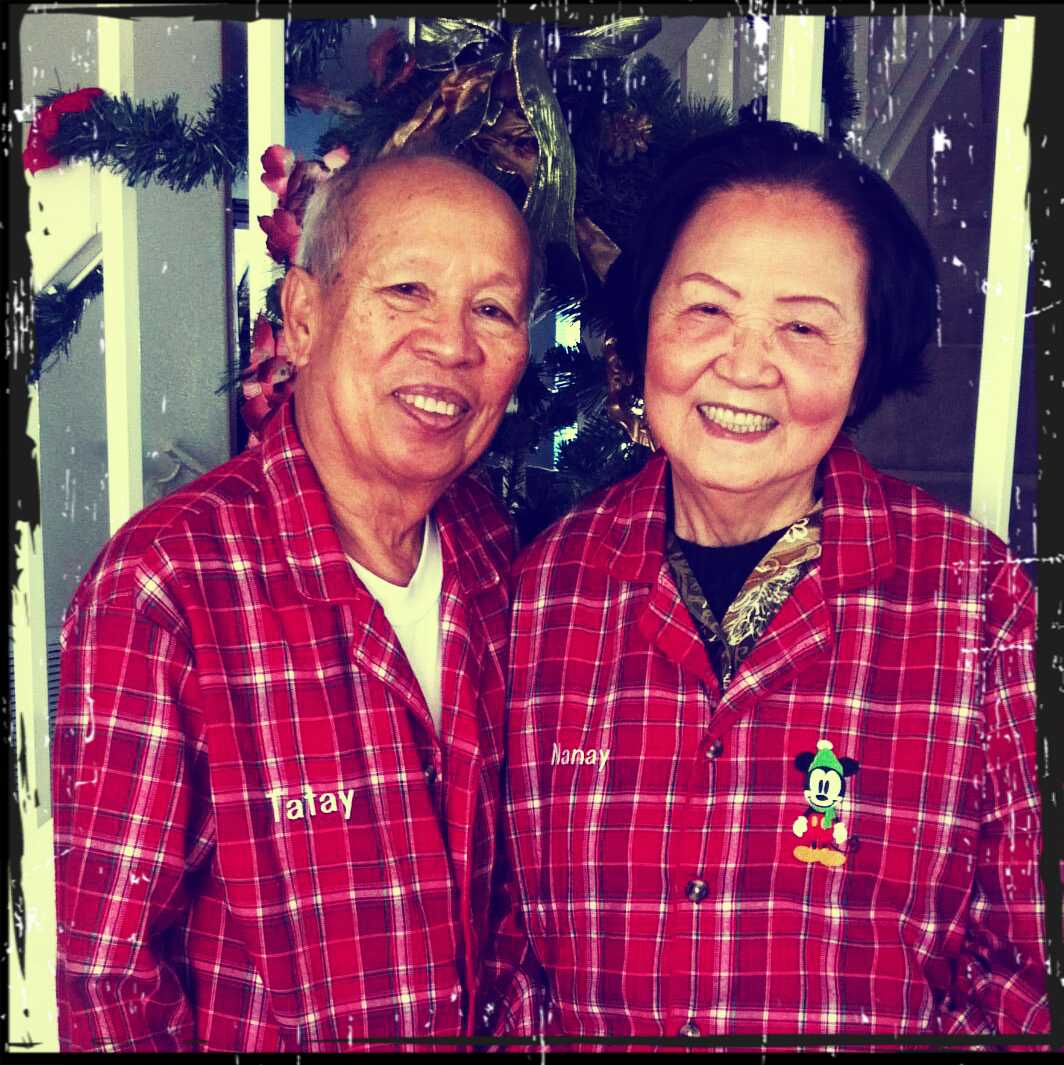
How lucky am I to be able to spend Christmas with my parents, aunt and all 3 of my grandparents?!!!?!?!
My mama likes to buy matching PJs for her loved ones.

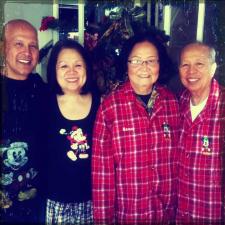


It was awesome to spend the day them lounging around in PJs…. eating, talking, sharing stories….

I cherish the time I can spend with friends and family…..
I’m a lucky girl….


